Connect your AI provider#
Download Halofy for your computer from halofy.ai and open the app. You can run the Workstation on its own without a Halofy account; connect the AI provider account you already use.
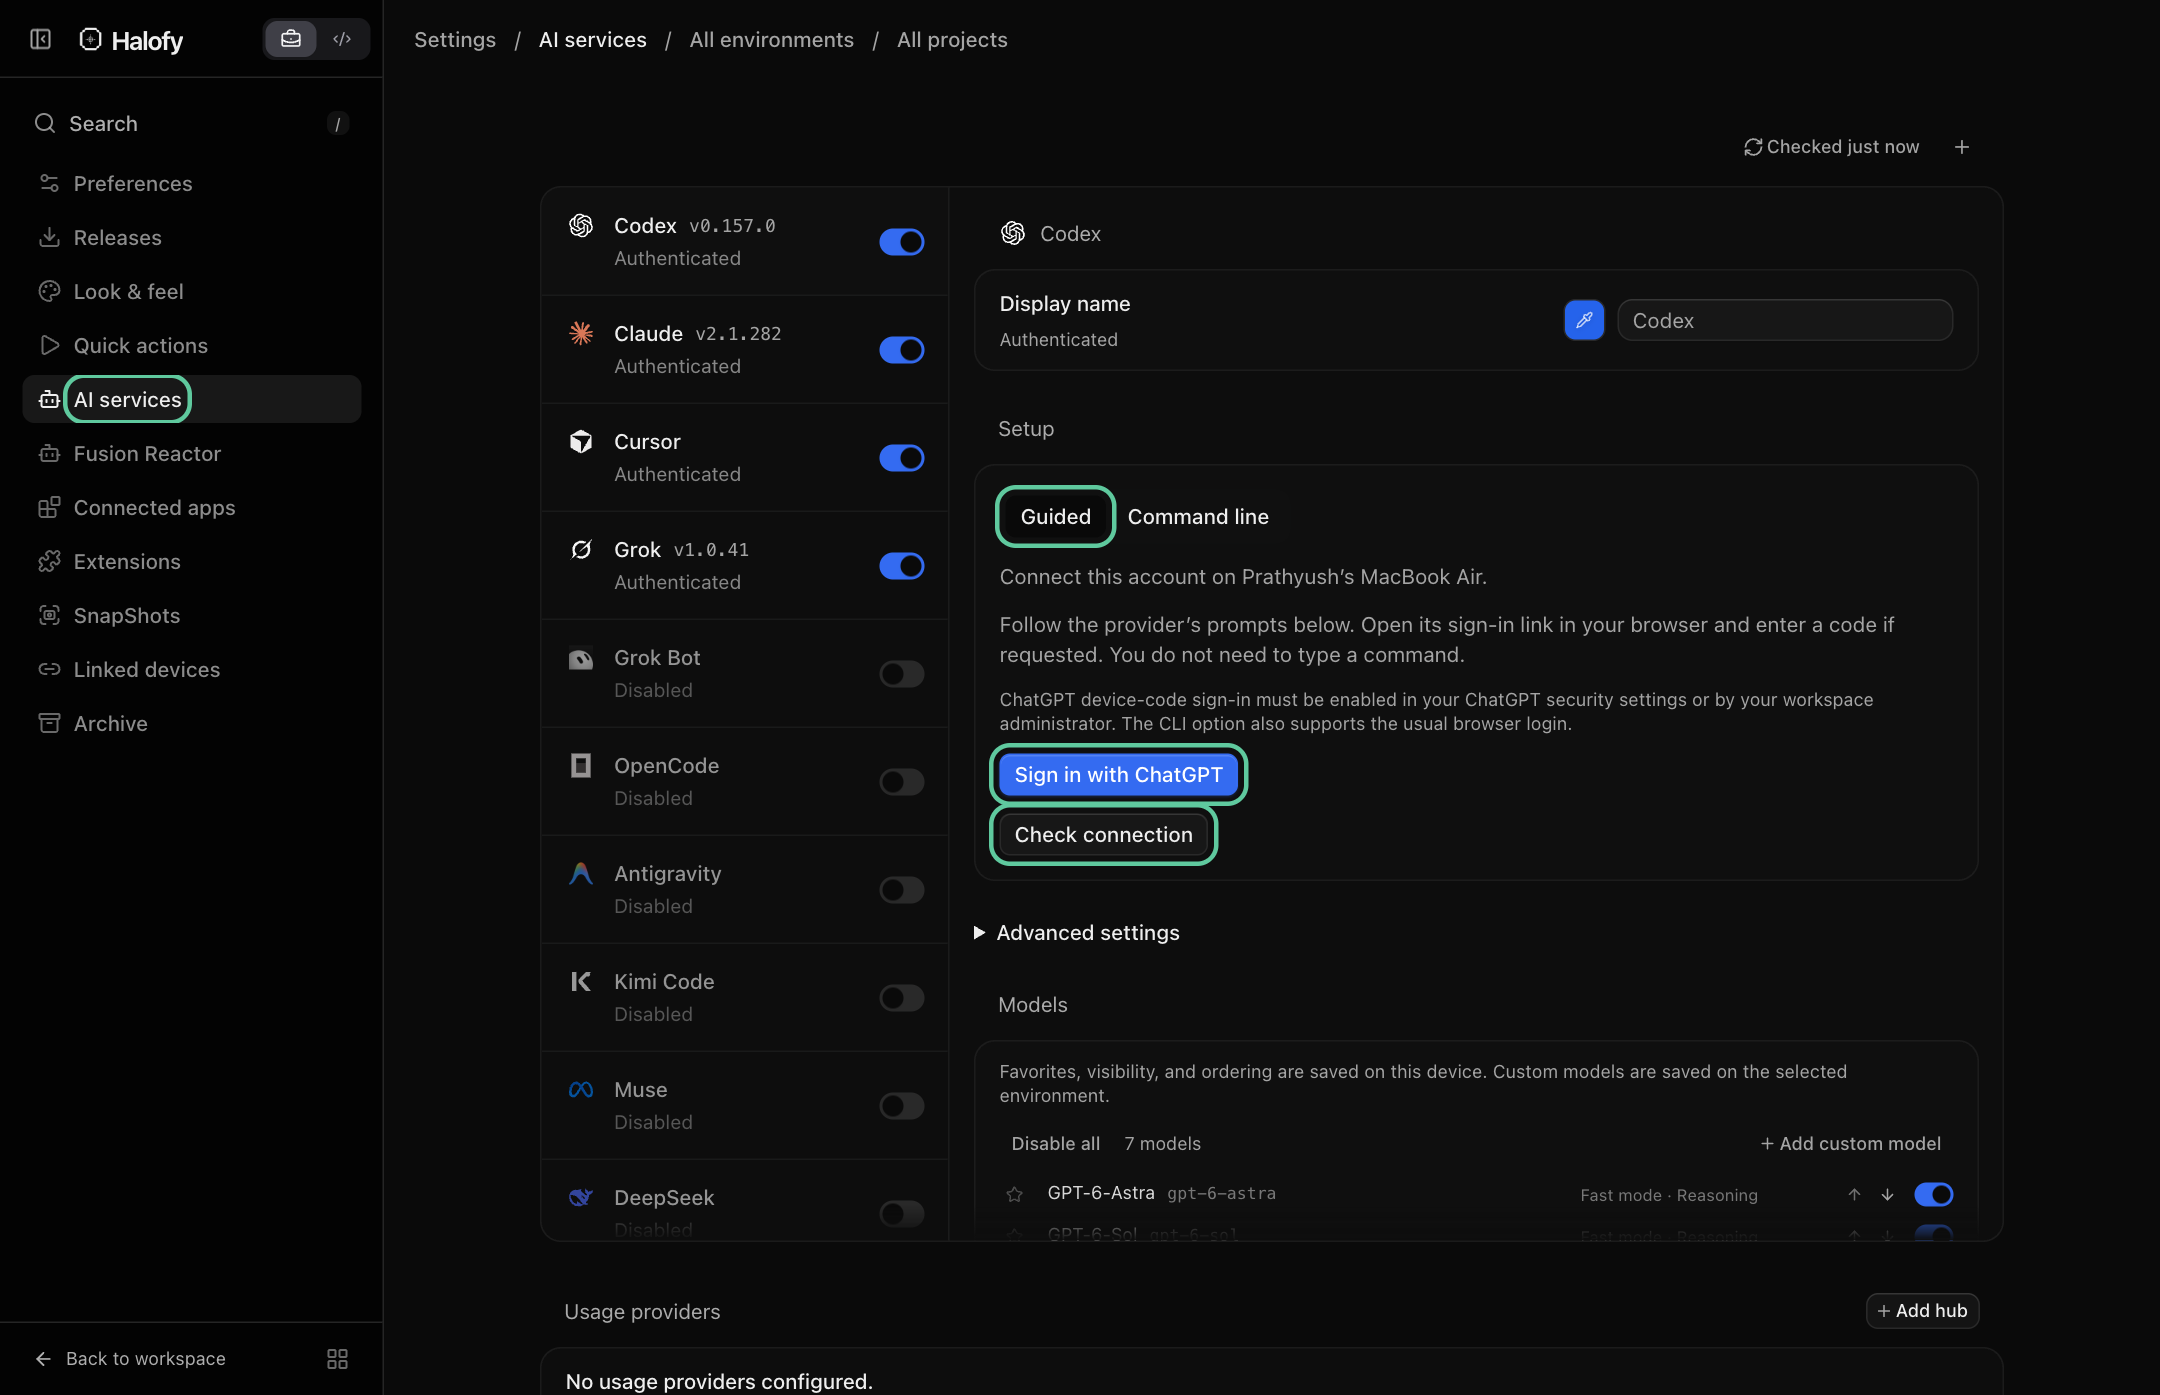
Open Settings → AI services. Select a provider, such as Codex or Claude, and turn on its switch. If its agent tool is missing, follow the installation instructions shown in Setup before signing in.
Choose one of the connection methods below. The screenshots use Codex as an example; the sign-in button and command depend on your provider.
Sign in through the provider
- Under Setup, select Guided. Click the provider’s sign-in button — Sign in with ChatGPT for Codex.
- Follow the prompts in the sign-in panel. Open the provider’s link in your browser, sign in to your account and enter a code if requested.
- Return to Halofy and click Check connection. Authenticated confirms that the provider account is connected.
Or connect through the command line
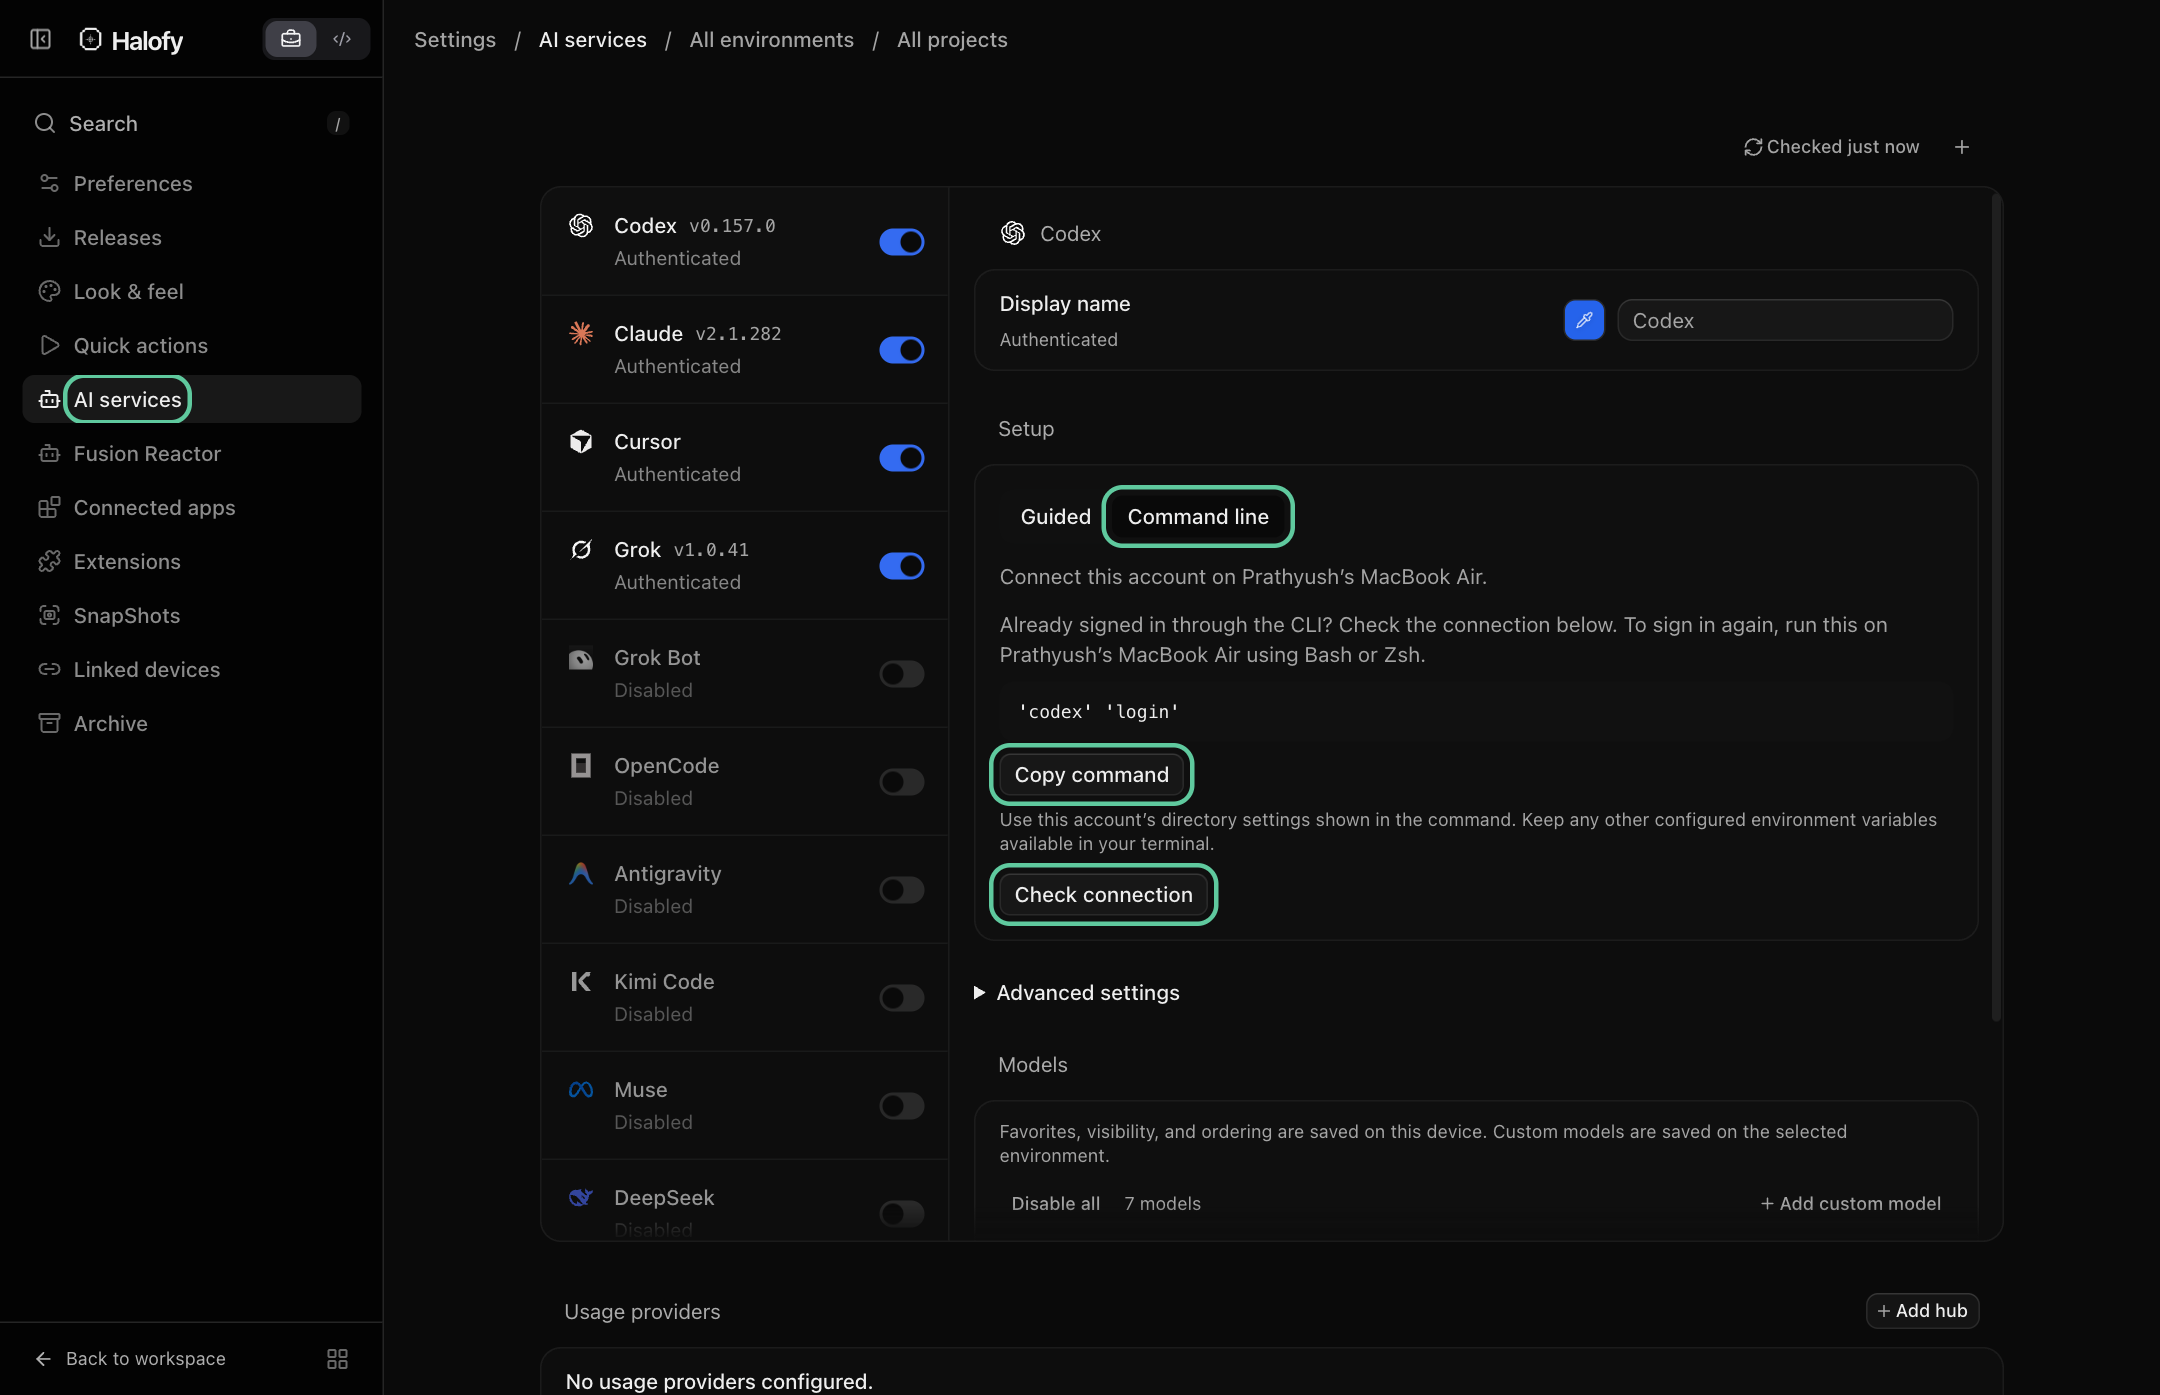
If you already signed in through the provider’s CLI on this computer, click Check connection to reuse that sign-in. Otherwise:
- Select Command line, then Copy command.
- Open a terminal on the computer named in the Setup panel. Paste and run the copied command, then complete the provider’s sign-in prompts. For the Codex example shown below, the command is
codex login. - Return to AI services and click Check connection. Wait for Authenticated before starting a session.
If your provider uses an API key
Use the provider’s API-key field in Setup, click Save API key, then Check connection. Providers that use keys show their own setup instructions instead of browser sign-in.
Connect multiple devices (optional)#
Skip this step if you are using one computer. Linking devices lets you open and operate a session on another computer without moving its project or restarting the conversation.
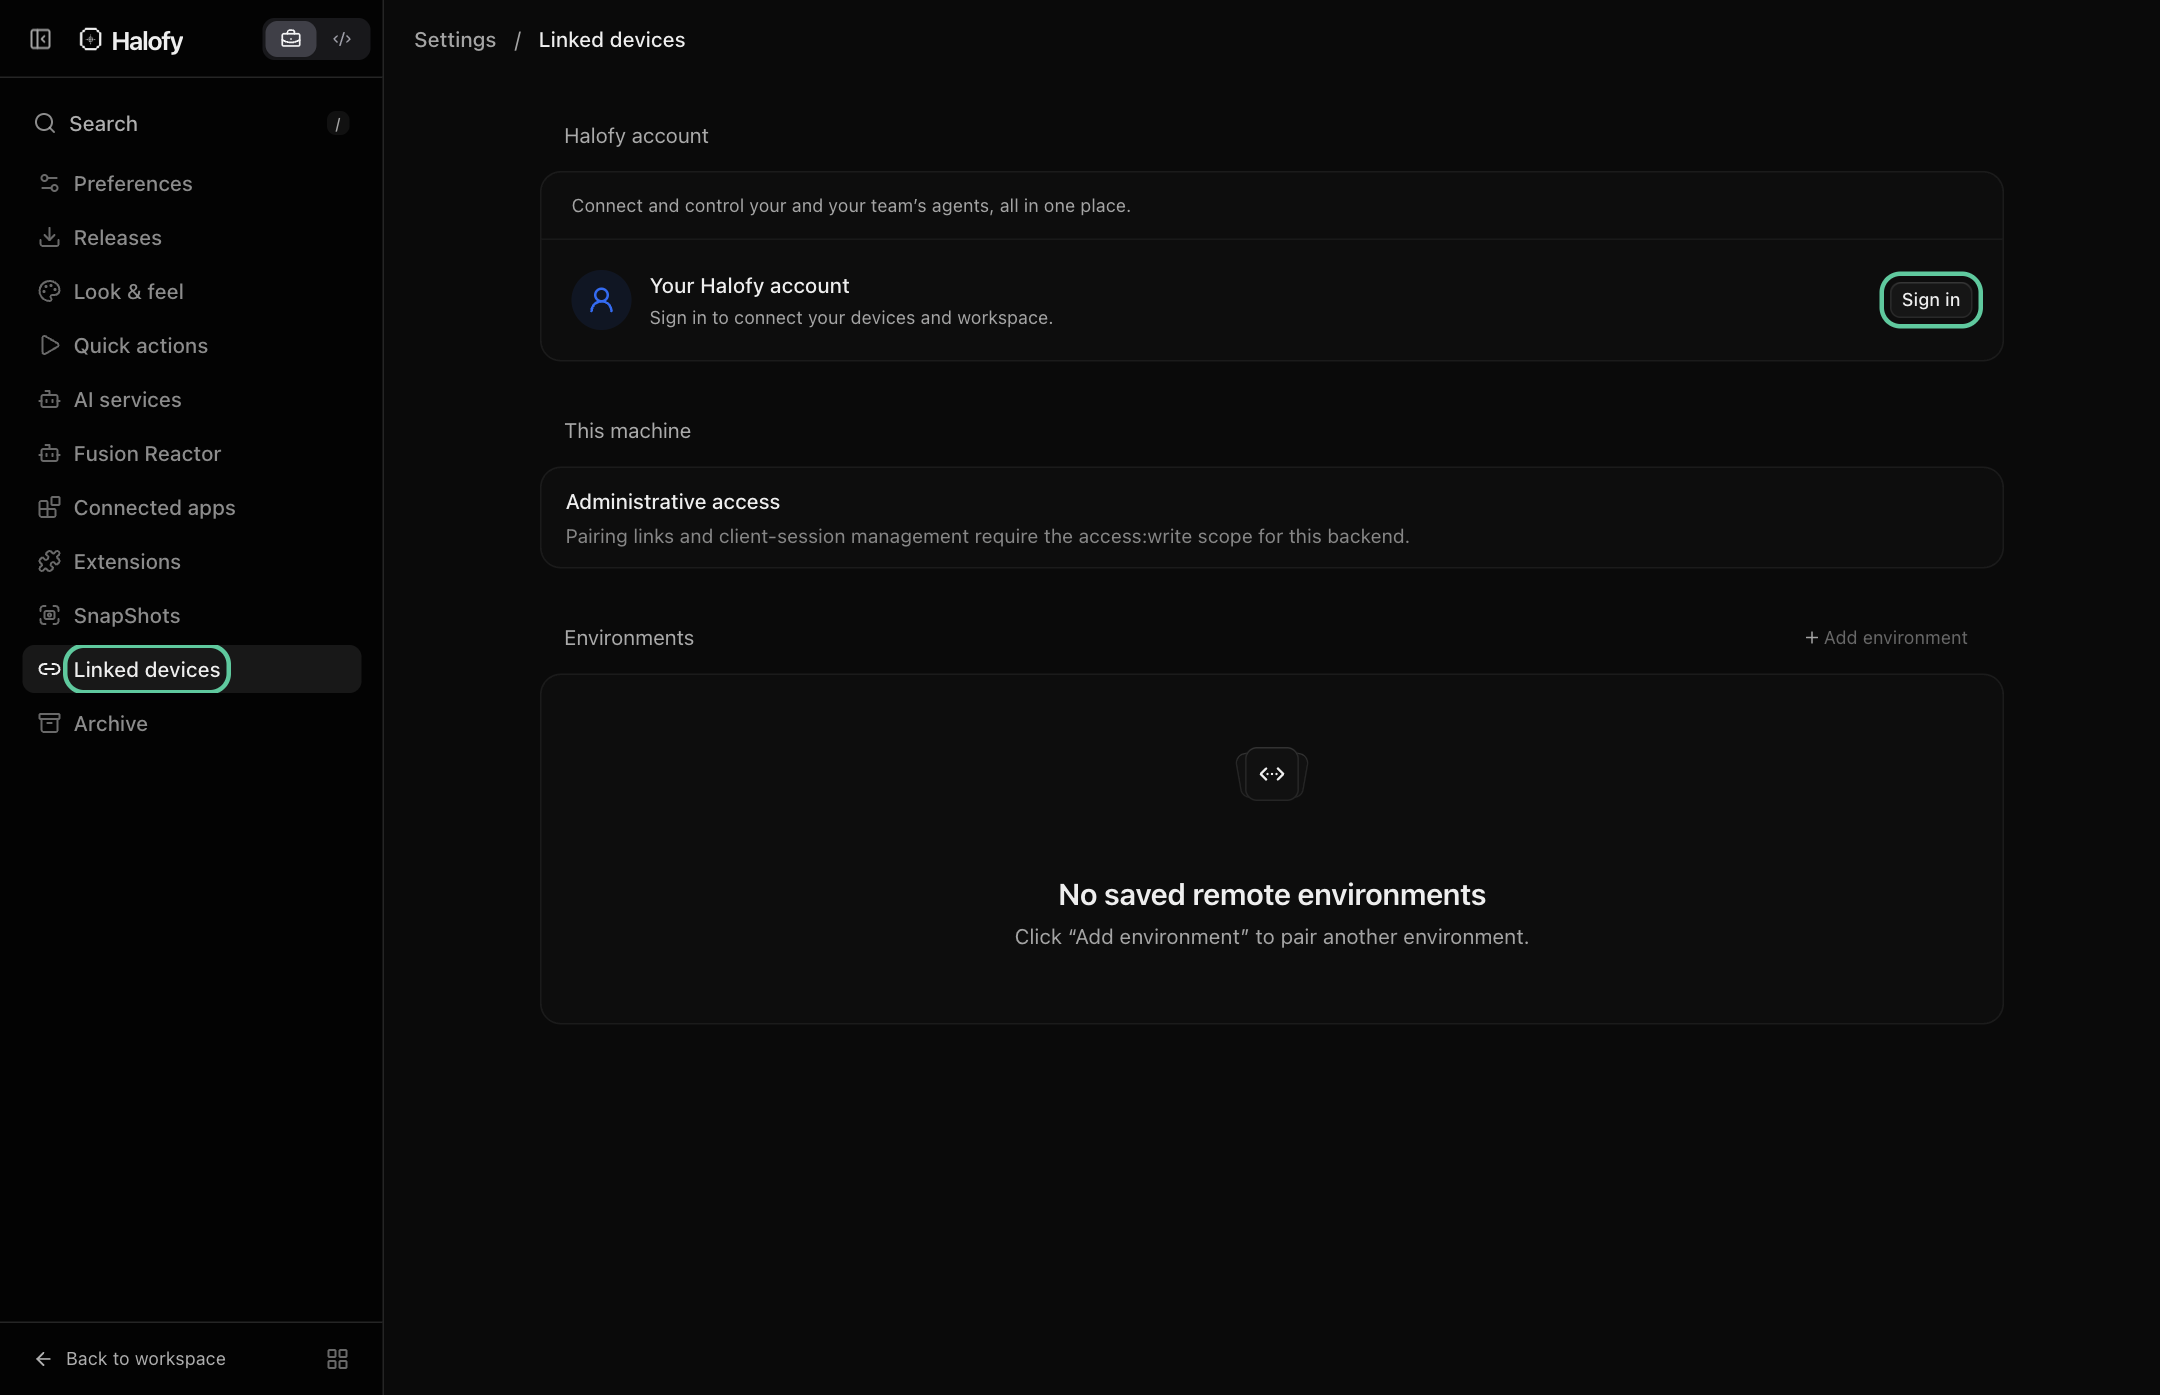
- On each computer, open Settings → Linked devices and click Sign in under Your Halofy account. Use the same Halofy account on both computers.
- On the computer you are working from, find the other computer under Your devices and click Connect. Keep Halofy running and the other computer awake.
- Once it shows Connected, open that device’s project or session from the sidebar. You can send messages and follow its progress from your current computer.
Run your first session#
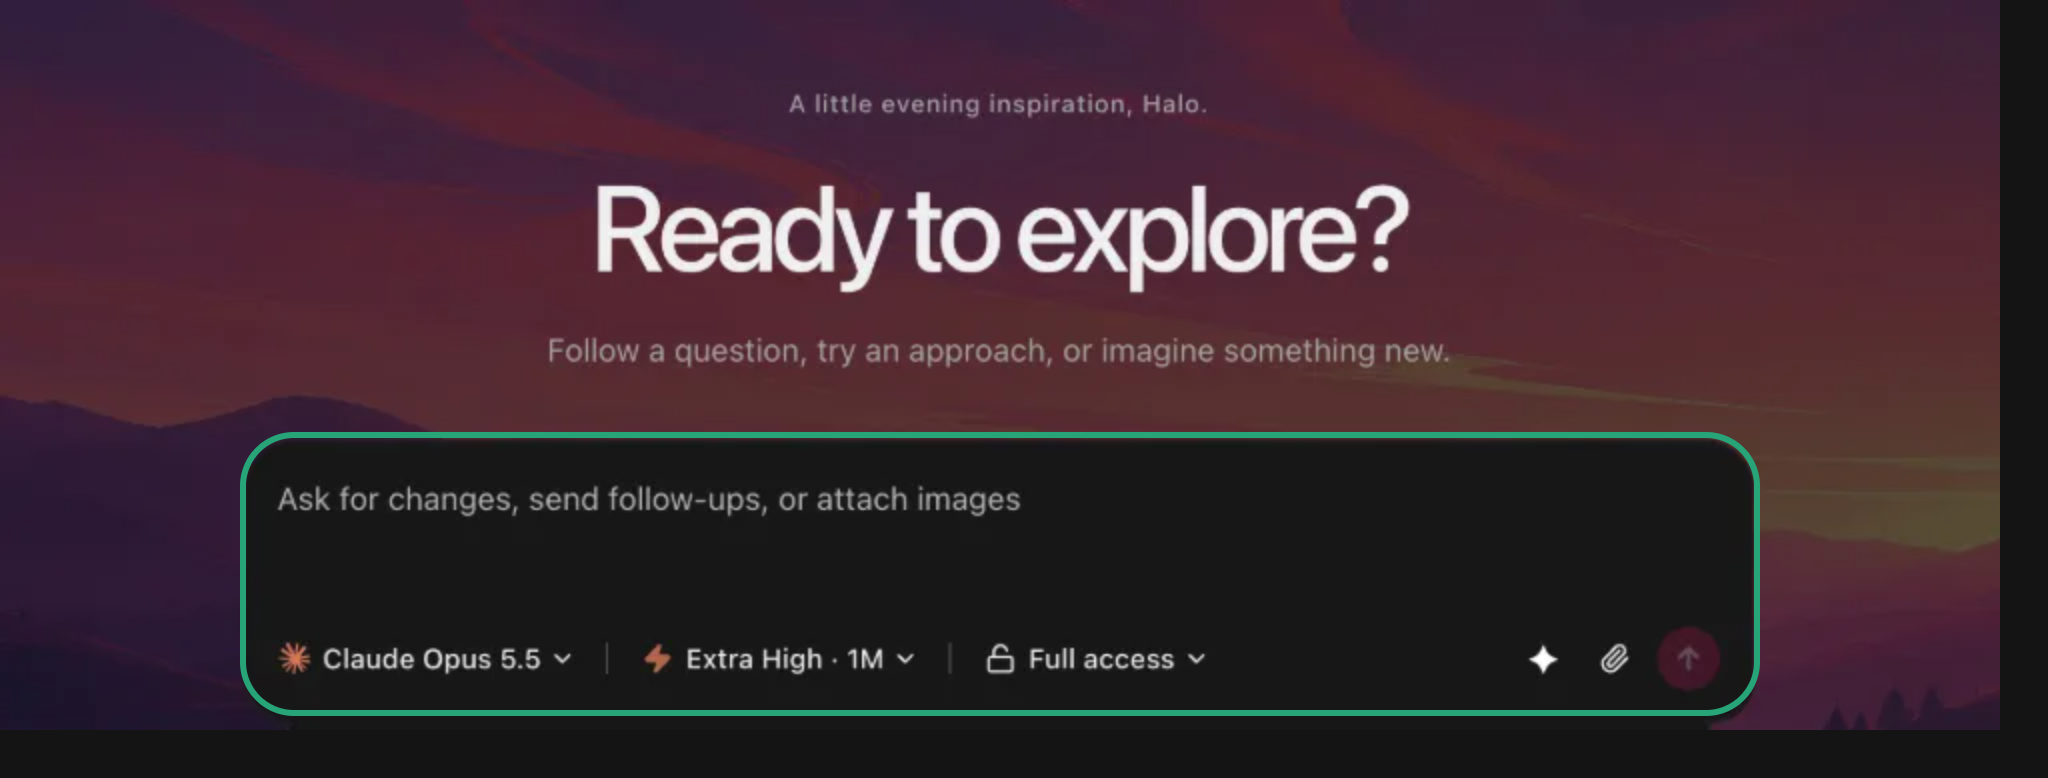
Start a new session, select your provider and model, and send a message.